

16 Stunning Wall Art Ideas to Transform Any Room
A blank wall can shape the mood of an entire room, but filling it doesn’t have to mean choosing a standard framed print. The right wall art can introduce color, texture, light, or a personal detail while helping a room feel more balanced and finished.
These 16 wall art ideas range from simple displays you can rearrange to bold features that make a wall the focal point. You’ll find options for living rooms, bedrooms, hallways, and other spaces, with practical tips for choosing a scale and arrangement that suit your home.
Consider the wall’s size, the room’s existing colors, and how much upkeep you want before you decide. Whether you prefer a collected look, natural materials, or clean modern lines, these ideas can help you turn an empty stretch of wall into something that feels intentional.
1. Anchor the Room with One Oversized Canvas
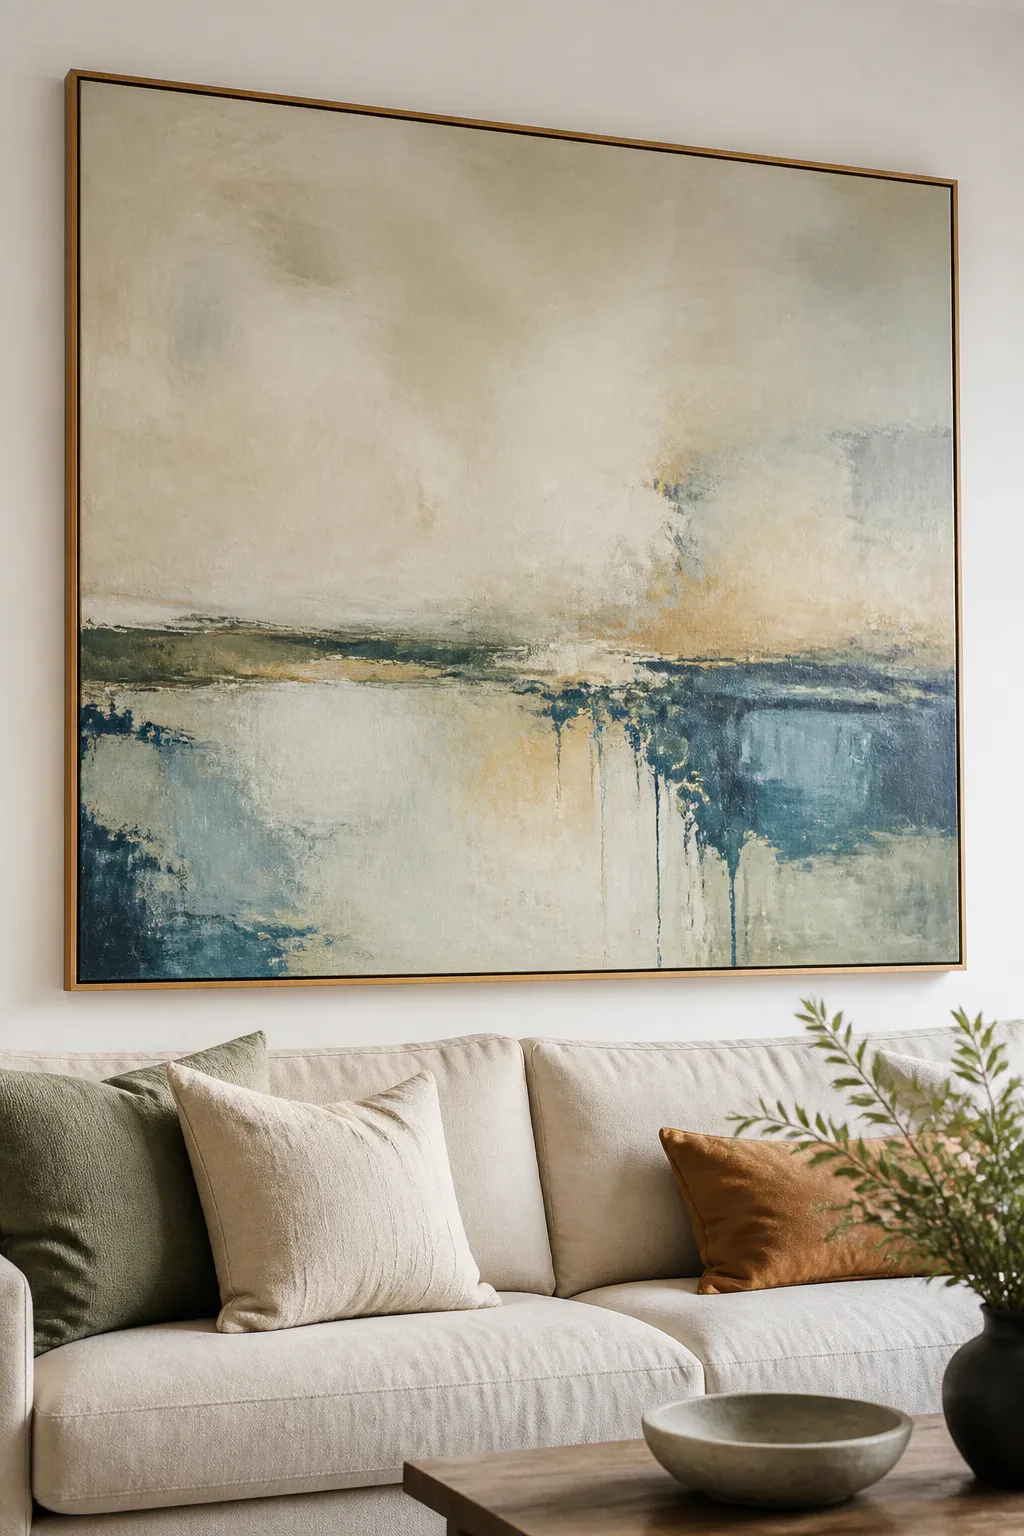
A single large canvas can make a blank wall feel complete without adding visual clutter. It works especially well above a sofa, bed, or dining table, where one clear focal point helps bring the furniture arrangement together. Choose art with colors that connect to the room, or use a contrasting palette to create a confident statement.
Scale matters: a canvas that is too small can look lost, while a very large piece can overwhelm a narrow wall. Before hanging, measure the wall and the furniture below it, then use painter’s tape to mark the artwork’s approximate outline. This quick step makes it easier to judge the balance from different parts of the room.
How to make it feel at home
Let the artwork lead, and keep nearby decor relatively simple. A canvas with an expressive abstract design can add movement to a neutral room, while a calm landscape can soften a space with stronger patterns or finishes.
- Choose a canvas that relates in width to the furniture beneath it.
- Repeat one or two artwork colors in cushions, a rug, or a throw.
- Check the view from the main seating area before choosing a height.
2. Build a Collected Gallery Wall

A gallery wall brings together pictures and objects that feel personal, making it a natural fit for a hallway, stairwell, or living room. Family photographs, vintage postcards, and line drawings can share a wall without looking too formal. A mix of frame styles adds character, while a few repeated finishes or colors help the collection feel connected.
Planning the arrangement before making holes can save time and reduce guesswork. Lay the pieces on the floor, or cut paper templates and tape them to the wall. Try different groupings until the overall shape feels balanced, paying attention to the gaps between frames as well as the images themselves.
Tips for a cohesive mix
Vary the sizes, but include a few larger pieces to give the eye places to rest. The arrangement can be symmetrical or loose; what matters is that it suits the wall and feels deliberate.
- Use a shared color, subject, or frame finish to tie varied pieces together.
- Mix photographs with drawings, postcards, and small keepsakes.
- Keep spacing consistent, even when the frame shapes differ.
- Start with a central piece, then build outward.
3. Cluster Textured Woven Baskets
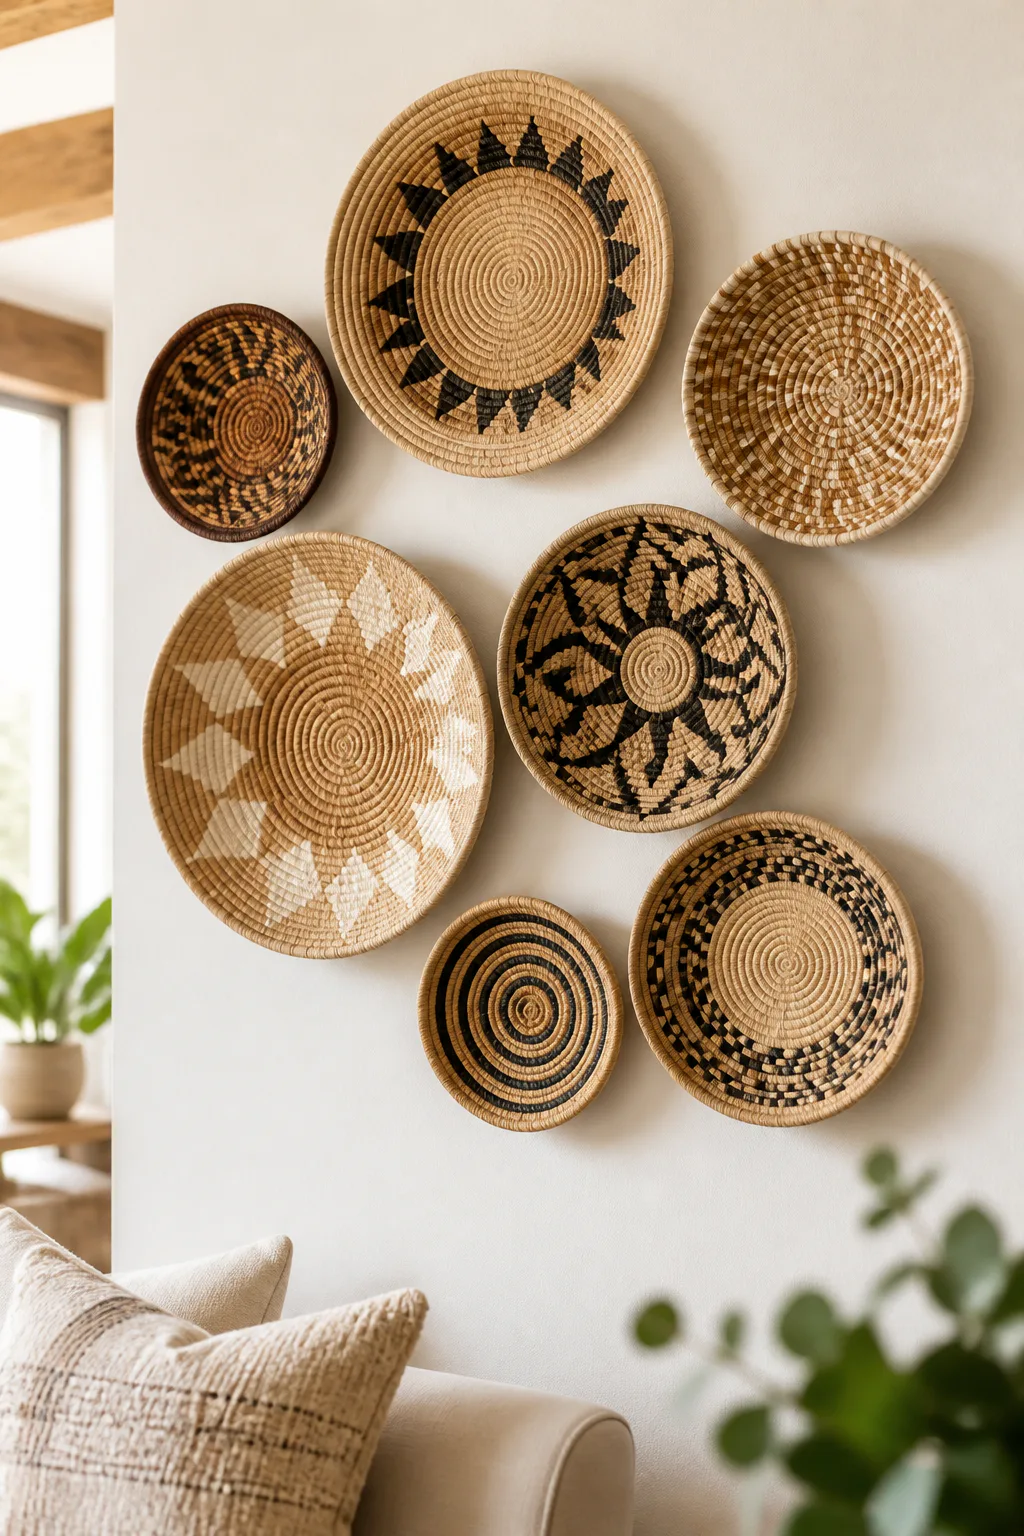
Woven baskets bring a tactile, relaxed quality to walls that might otherwise feel flat. A group of shallow, patterned baskets can suit a living room, breakfast nook, or bedroom, especially where natural fibers and warm finishes already appear. Their woven surfaces add depth, and their varied patterns create visual interest without relying on framed art.
Rather than arranging every basket in a strict grid, try an organic cluster with a mix of sizes and patterns. A few larger baskets can anchor the display, with smaller ones filling the spaces around them. Hold paper templates against the wall first to check the silhouette and make sure the group sits comfortably above nearby furniture.
Arrange the cluster
Look for a balance of color and pattern rather than matching every piece. If the baskets are especially detailed, a quieter wall and simple furnishings will let their textures stand out.
- Combine different diameters while keeping the overall cluster compact.
- Repeat a natural tone or accent color to connect the pieces.
- Use suitable hanging hardware for each basket’s shape and weight.
4. Create a Preserved Moss Wall
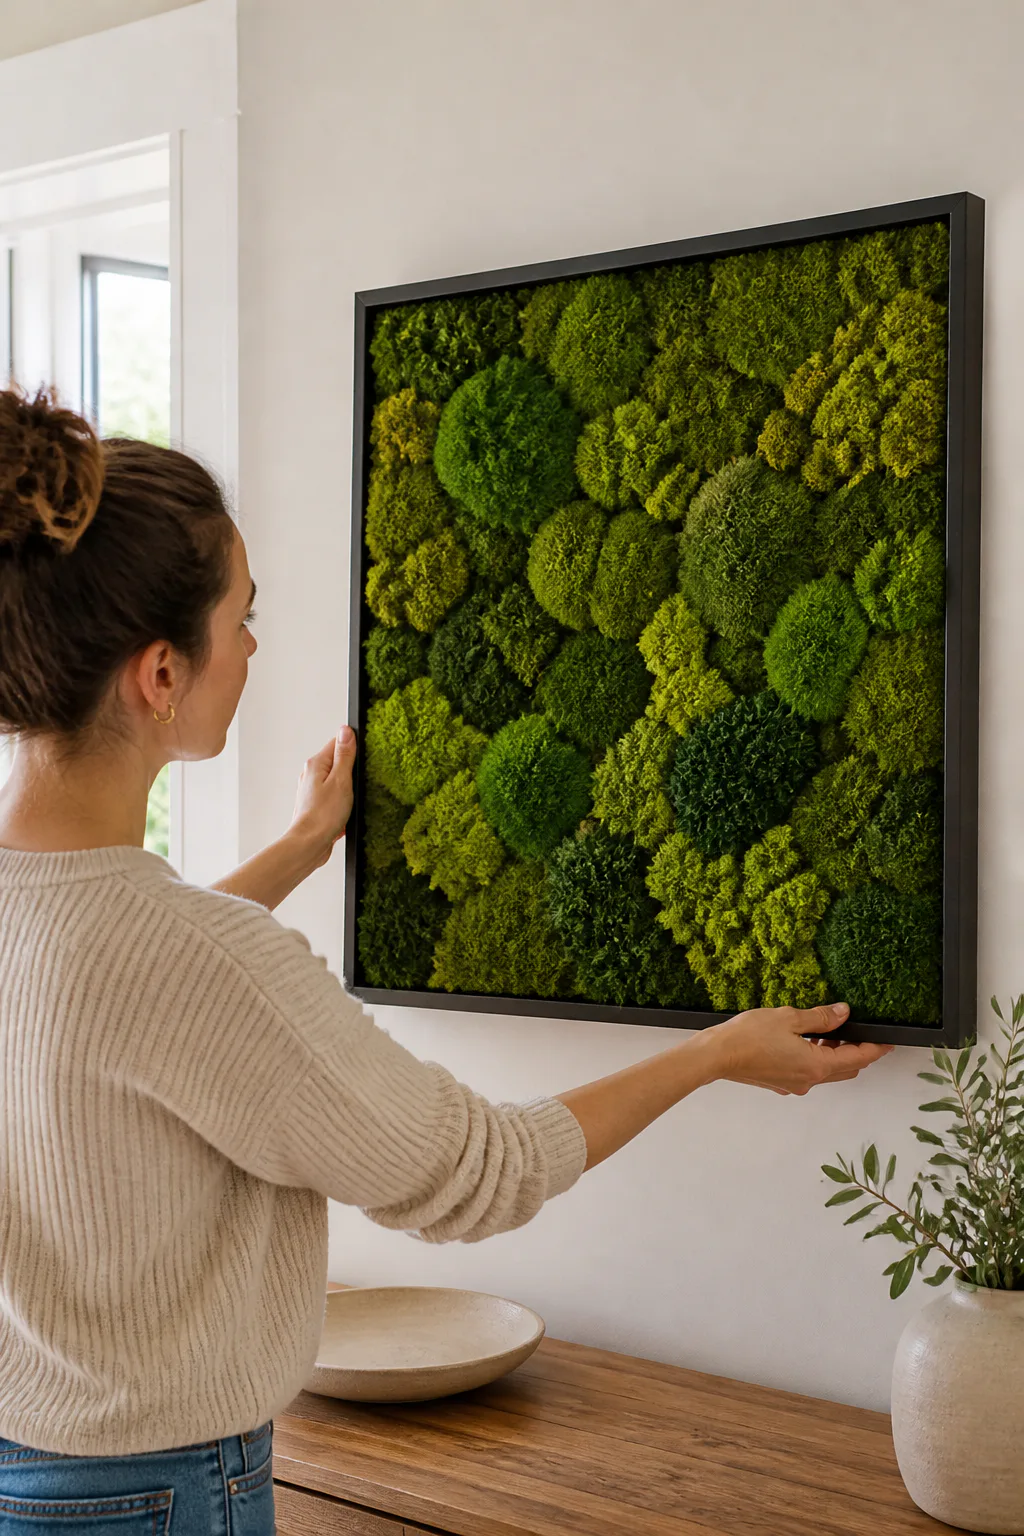
Preserved moss panels offer a lush, nature-inspired look without the regular watering of a living plant display. Framed moss can work as a small accent in an entryway or as a larger feature in a living room, home office, or dining space. Its soft surface contrasts nicely with smooth walls, wood furniture, and clean-lined decor.
Think of preserved moss as a material choice as much as a color choice. Different textures and shades can create a subtle, layered composition, while a simple frame gives the display a finished edge. Check the product’s care instructions and placement guidance, since preserved materials may have specific needs around direct sun, moisture, or handling.
Choosing a moss display
A single framed panel gives a quiet, contained accent; several coordinated tiles can create a broader feature. Keep the surrounding wall relatively uncluttered so the organic texture remains easy to notice.
- Select a frame size that suits the wall and nearby furniture.
- Use multiple tones or textures for a more dimensional look.
- Follow the maker’s instructions for cleaning and placement.
5. Style Art on Floating Picture Ledges

Picture ledges make it easy to display art without committing to one fixed arrangement. They work well above a sofa, along a hallway, or in a bedroom where you may want to swap prints as your tastes change. Leaning pieces against the wall creates a casual layered effect and makes small objects or framed photographs part of the display.
One ledge can look clean and simple, while two or more at different heights create a fuller composition. Measure the depth of the ledge against the frames you plan to use, and check that the wall can support the installation. When layering artwork, place larger frames at the back and smaller pieces in front so the arrangement feels intentional rather than crowded.
Keep the display easy to refresh
Use a mix of frame sizes, but leave enough open space to make changes without rearranging everything. A small decorative object can add variety, provided it doesn’t block the art or make the ledge feel unstable.
- Anchor ledges into appropriate wall supports.
- Layer frames from largest at the back to smallest at the front.
- Repeat a frame finish or color for a more unified look.
- Keep heavier items low and secure.
6. Hang a Vintage Textile Tapestry
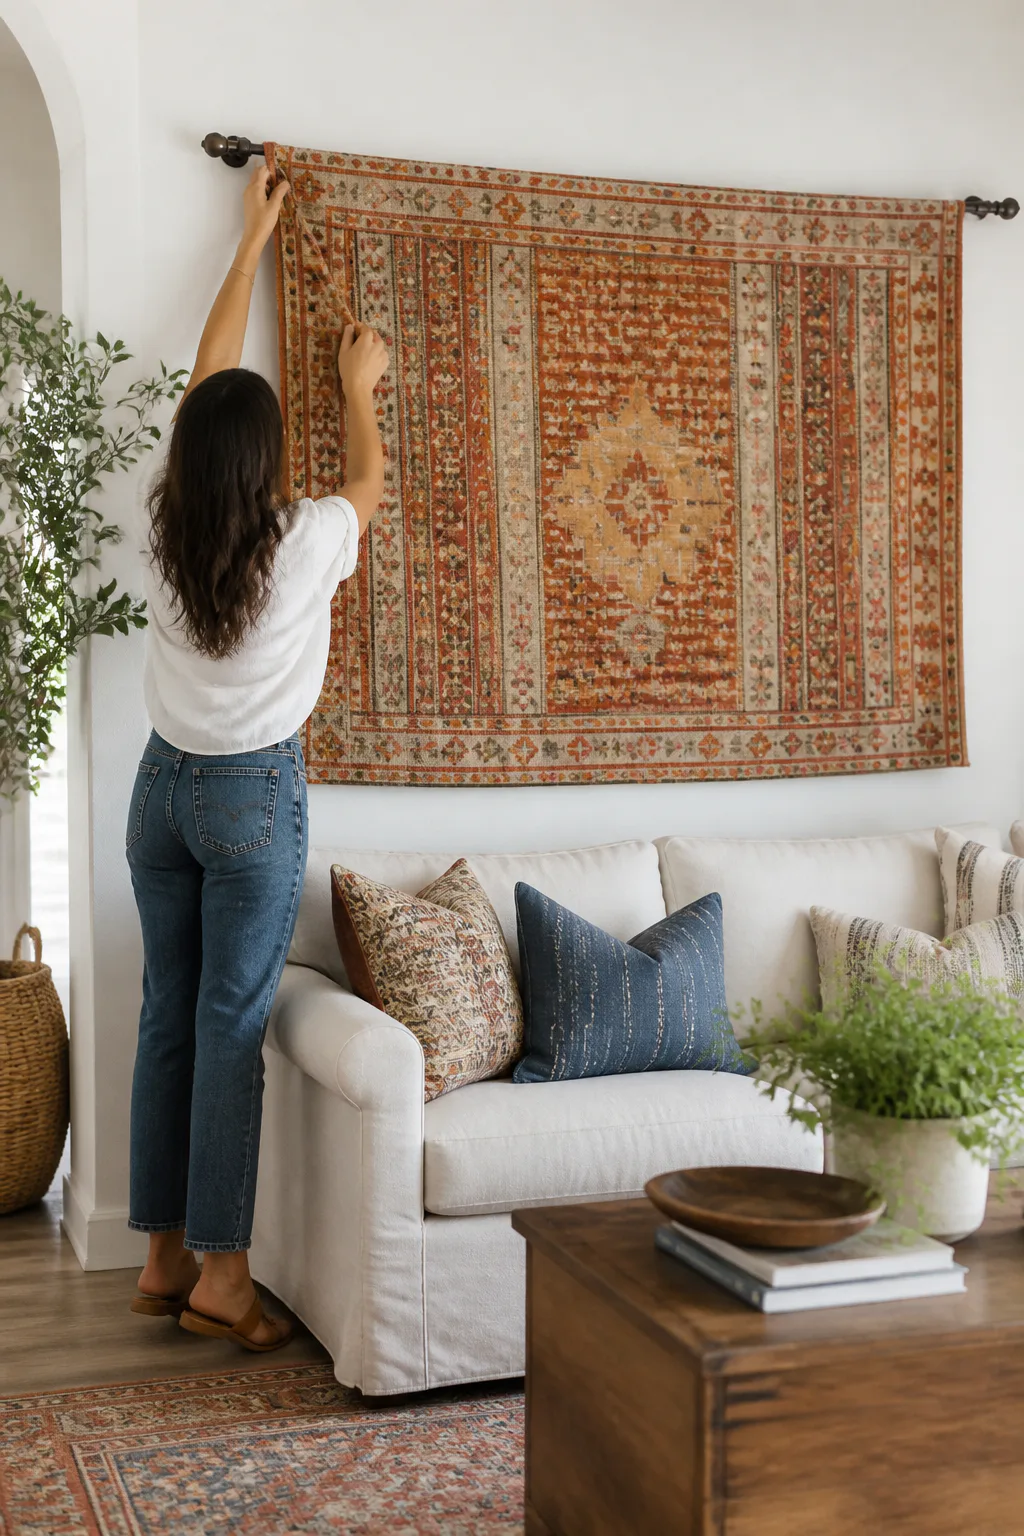
A vintage rug, kantha quilt, or patterned piece of fabric can bring color and softness to a large wall. Textiles are especially effective in bedrooms and living rooms, where their woven surfaces help balance hard finishes such as wood, metal, or tile. A decorative rod gives the piece a clear frame while allowing its pattern and drape to remain visible.
Before hanging, consider the textile’s condition, weight, and width. A lightweight fabric may need a different support from a heavy rug, and delicate or valuable pieces may benefit from professional advice on safe display. Keep the textile away from areas where it could be tugged, splashed, or exposed to strong direct sunlight.
Display fabric with care
A rod-and-sleeve setup can spread the textile’s weight more evenly than attaching it at a few points. If the piece has a strong pattern, let it be the main feature and keep nearby wall decor restrained.
- Choose a rod and mounting hardware suited to the textile’s weight.
- Use a supportive hanging method that avoids damaging the fabric.
- Echo one textile color in nearby accents for a connected look.
7. Add Sculptural Metal or Wire Art

Metal and wire art adds dimension to a wall without the visual weight of a large framed picture. Geometric forms can complement a modern or industrial room, while continuous-line designs offer a more playful, drawn-in-the-air effect. Because these pieces sit away from the wall, their shadows become part of the display and can shift subtly with the light.
This kind of art works well on a simple wall where its shape can stand out. Consider how it will look from the main seating area and from the side, since a three-dimensional sculpture changes as you move around the room. Matte black, brass-toned, or other finishes can either blend with existing hardware or provide a deliberate contrast.
Make the shape the focus
Give sculptural art enough breathing room so nearby frames and accessories don’t compete with its outline. A single piece can make a quiet accent; a small group looks best when the forms relate in scale or finish.
- Check the artwork’s projection from the wall before selecting a spot.
- Use secure hardware appropriate for the piece and wall type.
- Notice how natural and evening light affect its shadows.
8. Make a Statement with an Oversized Mirror

An oversized mirror can function as wall art while also reflecting light and helping a room feel more open. A dramatic arched or circular shape brings a strong outline to a living room, entryway, or bedroom. Placed opposite or near a window, a mirror can reflect daylight and views, though the reflected area should be something you enjoy seeing.
Think about what the mirror will reflect before you hang it. A reflection of a doorway, artwork, or attractive part of the room can add depth; a cluttered corner may become more noticeable instead. Large mirrors are often heavy, so choose a location and mounting method that suit both the mirror and the wall.
Place it with purpose
A mirror above a console or mantel can anchor a furniture grouping, while a tall shape can add height to a narrower wall. Keep enough surrounding space for its outline to read clearly.
- Check the reflection from the room’s most-used viewpoints.
- Use secure mounting hardware suited to the mirror’s weight.
- Choose a frame shape that complements nearby furniture and finishes.
9. Display a DIY Textured Plaster Canvas
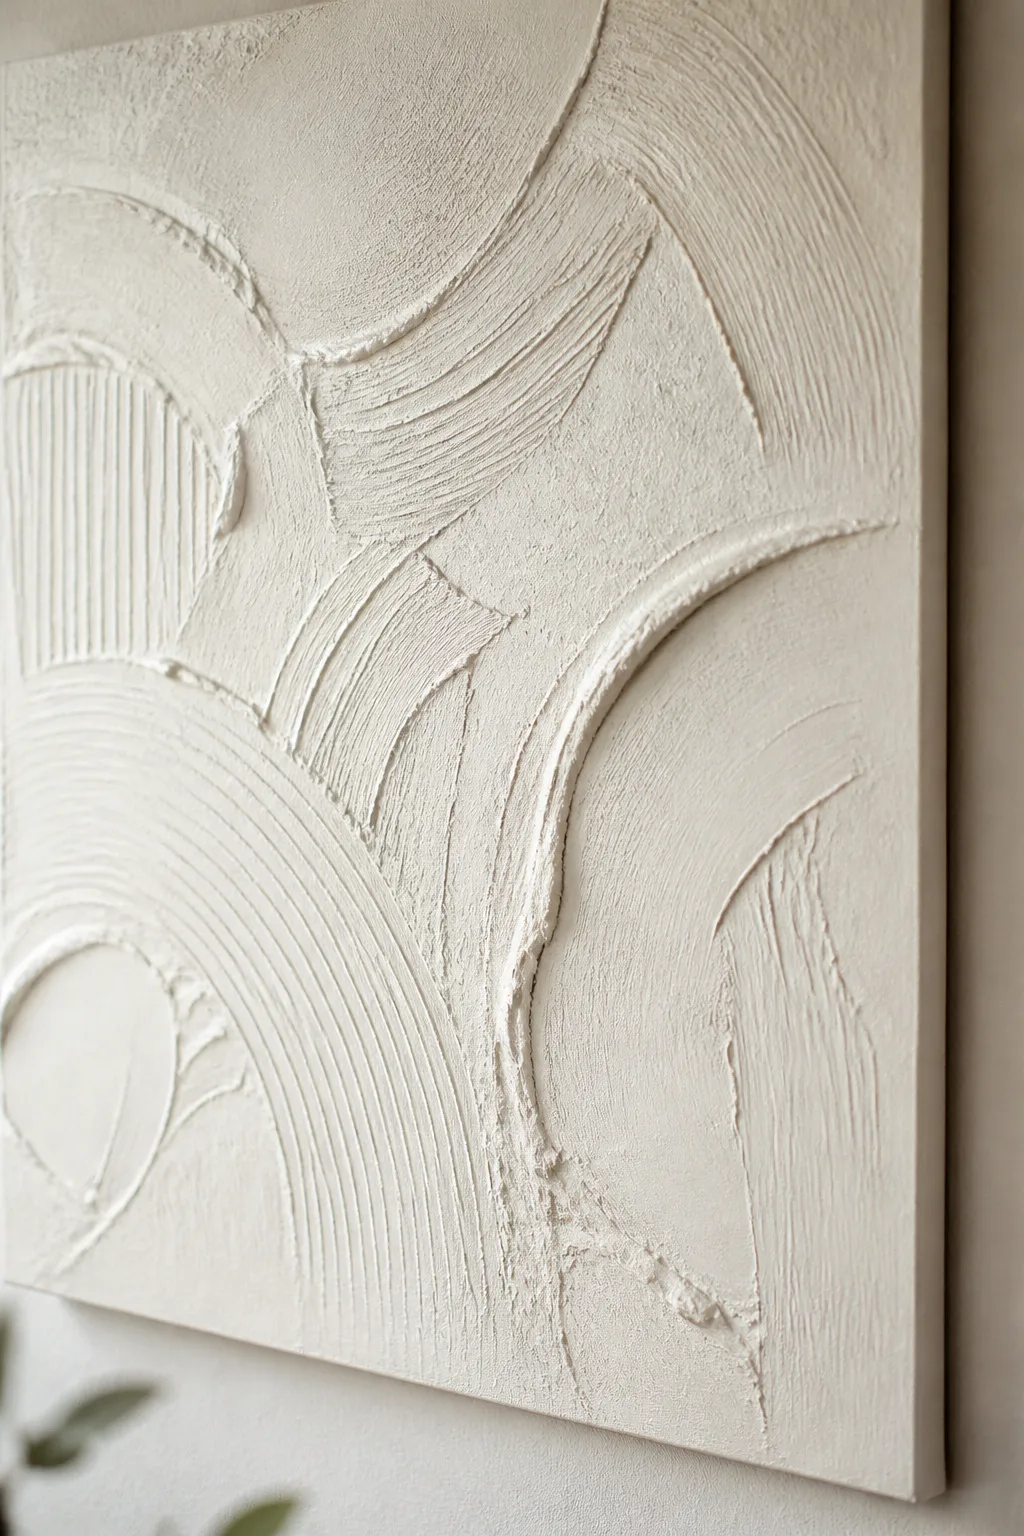
A textured plaster canvas brings sculptural detail to a wall, even when its color palette is restrained. Shaped plaster or joint compound can create ridges, curves, and soft relief across a canvas, making it a good fit for a bedroom, living room, or quiet reading corner. A monochrome finish keeps the focus on shadows and surface rather than a busy palette.
Try a small test piece before working on a larger canvas, since the material’s thickness and drying behavior affect the final result. Use tools such as a putty knife to shape broad marks, and allow the piece to dry fully according to the material instructions. Consider the finished weight and choose a canvas and hanging method that can support it.
Build texture gradually
Simple, repeated gestures often look more cohesive than trying to create too many patterns at once. Once the surface is dry, a single muted paint color can unify the relief while preserving the variations in texture.
- Protect your work surface and follow product safety directions.
- Practice different marks on a spare surface first.
- Check the canvas weight before choosing hanging hardware.
10. Frame Pressed Botanicals in Glass

Pressed ferns, wildflowers, and autumn leaves can bring a delicate, natural note to a wall. Displayed between panes of glass, their shapes remain visible from both sides, making floating frames especially appealing near a window or in a bright hallway. A single specimen can feel minimal, while a small collection can create a more layered botanical display.
Choose plant material that is fully dry and pressed flat before framing, and handle fragile stems gently. The transparency of the glass means the wall behind the plant becomes part of the composition, so consider its color and finish. Bright direct sun may affect natural materials over time, so choose a spot with suitable light and follow any preservation guidance.
Compose a light, airy arrangement
Leave open space around each stem so its silhouette stays clear. Matching frames can make a group feel orderly, while varied sizes add a more collected character.
- Use dry, flat botanicals to reduce the chance of trapped moisture.
- Choose a background that lets delicate stems show clearly.
- Arrange multiple frames with consistent spacing.
11. Mount a Glowing Neon Sign

A neon sign adds color and a soft glow that can shift the mood of a room after dark. A short custom message or simple shape works well on a painted accent wall, in a creative workspace, or above a casual seating area. Against brick, the contrast between the sign’s smooth light and the wall’s texture can make the display feel especially graphic.
Keep the design simple enough to read at a glance, and think about how the glow will interact with other lighting. A sign can become the main feature, so avoid crowding it with too many competing decorations. Check the installation requirements, cord placement, and power access before choosing the final position.
Plan the placement and glow
Test the sign’s height from the spots where you’ll see it most, and make sure its wiring can be routed neatly. A dimmer or adjustable lighting setting, if available, can help the sign feel comfortable in different situations.
- Choose a message or shape that suits the room’s mood.
- Plan for a nearby power source and tidy cord routing.
- Keep the surrounding wall simple enough for the light to stand out.
12. Turn a Vintage Scarf into Wall Art
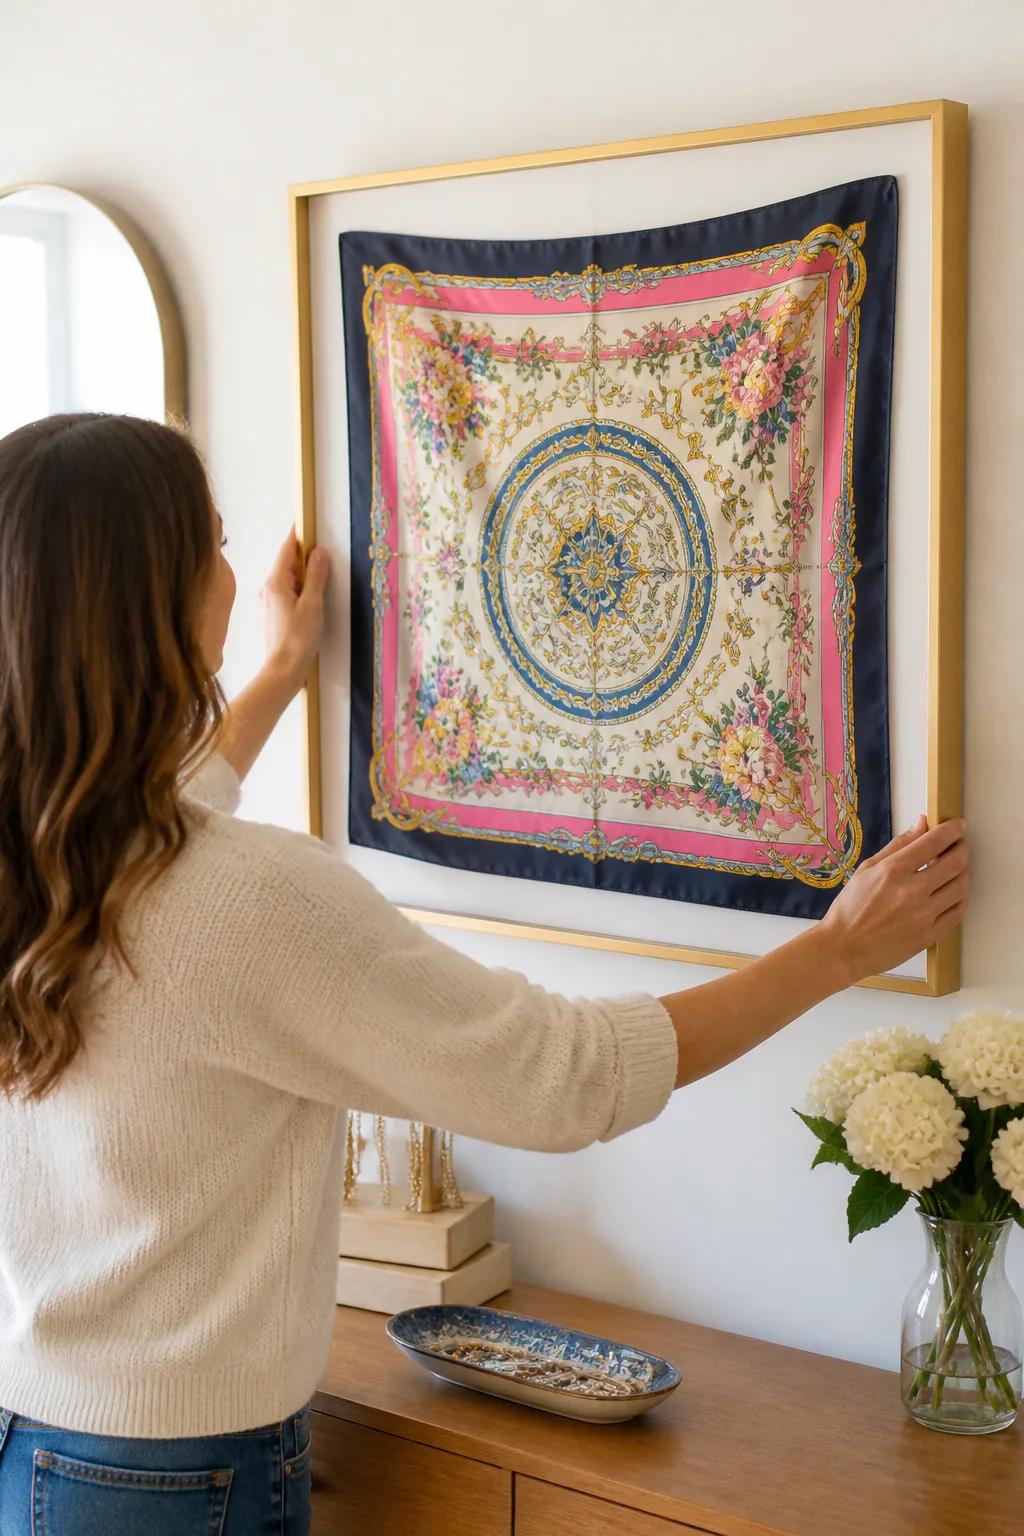
A colorful silk scarf or bandana can become a one-of-a-kind art piece when framed. Its pattern can bring a strong accent to a bedroom, dressing area, or living room, and its familiar scale makes it easy to use as part of a gallery wall. A floating or shadow-box frame lets the fabric remain the focus while giving it a finished presentation.
Before framing, decide whether you want the textile to lie flat or have a little visual depth. A shadow box can add space around the fabric, while a floating frame highlights its edges. If the scarf is fragile or has sentimental value, choose a display method that avoids permanent adhesives or unnecessary stretching.
Frame fabric thoughtfully
Let the scarf’s colors guide nearby accents, but don’t feel you need to match every shade. A simple frame and uncluttered wall can help an intricate print feel intentional rather than busy.
- Measure the textile and frame before deciding how it will sit.
- Use a gentle, reversible method to secure delicate fabric.
- Place it away from moisture and harsh direct sunlight.
13. Install a Wood Slat Feature Wall

Wood slats create a strong architectural backdrop behind a bed, sofa, or dining area. Their repeated lines bring rhythm and texture, while natural wood tones can warm up a room with otherwise smooth or cool finishes. Vertical slats can draw the eye upward; horizontal ones can emphasize the width of a wall.
A slat feature takes more planning than hanging a print, so consider the wall dimensions, surrounding trim, and how the wood will relate to nearby furniture. Check the installation requirements and whether the feature needs backing or other preparation. Slatted surfaces may also affect how sound feels in a room, though the result depends on the full wall assembly and materials.
Choose a direction and finish
Test a sample or mock up the spacing before committing to the full wall. A consistent rhythm tends to feel calm, while a contrasting backing can make the gaps between slats more noticeable.
- Decide whether vertical or horizontal lines suit the room’s proportions.
- Coordinate the wood tone with floors, furniture, or other finishes.
- Plan around switches, outlets, and existing trim.
14. Split Artwork Across a Triptych
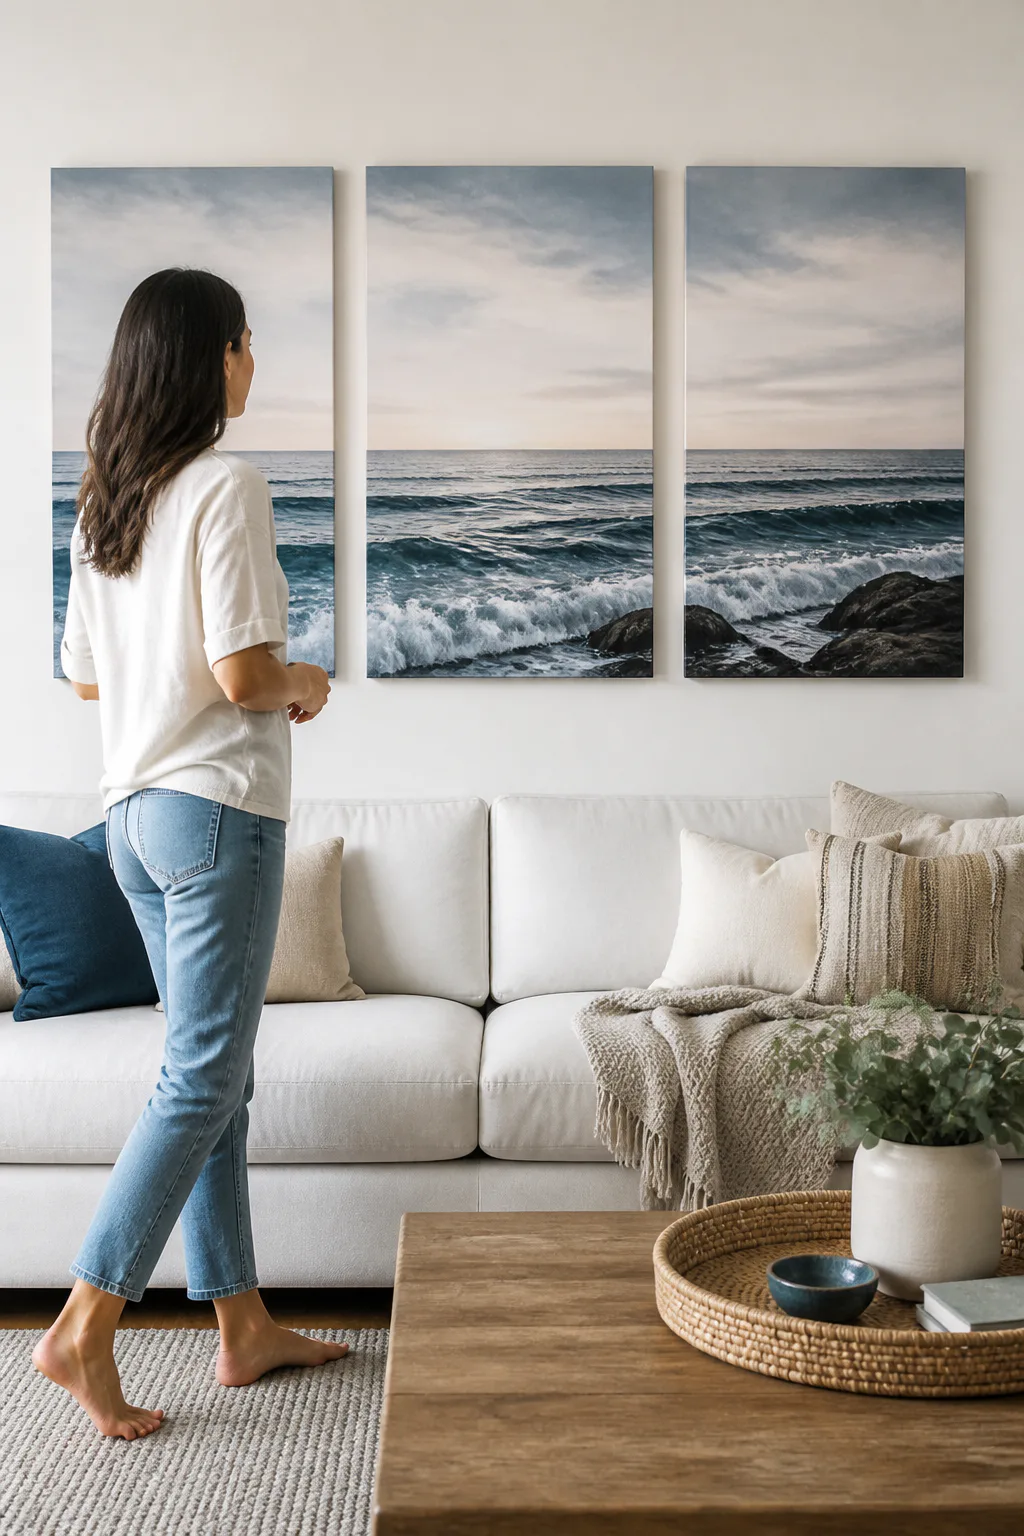
A triptych divides one image or composition across three aligned canvases, creating a wider focal point than a single framed piece. It can work above a sofa, bed, or long console, where the separate panels echo the horizontal shape of the furniture. Abstract painting and graphic photography are both well suited to this format.
The gaps between the panels are part of the design, so plan the spacing before hanging. Keep the image sequence clear and make sure the panels are level with one another. A diptych, with two pieces, can be a useful alternative when the wall is narrower or the artwork reads better in two parts.
Align the panels
Use painter’s tape or paper templates to test the arrangement from a distance. The combined artwork should feel proportionate to the furniture beneath it, and the spacing should be consistent enough that the image still reads as a whole.
- Confirm the image order before marking the wall.
- Measure panel gaps carefully and keep them consistent.
- Use a level to align the tops or centers of the canvases.
15. Arrange a Wall of Ceramic Plates

A wall of ceramic plates turns everyday objects into a dimensional display. Mismatched vintage plates or hand-painted pieces can bring pattern and color to a dining room, kitchen, or breakfast nook. The rounded shapes break up the straight lines of cabinets and furniture, while the varied surfaces make the arrangement feel collected.
Start by choosing a wall that can support the display and is easy to view without being in a high-traffic spot. Lay the plates out on the floor first, balancing different sizes and patterns across the group. Because ceramics can be fragile, use suitable plate hangers and check that each piece is secure before placing it above furniture or a walkway.
Balance color and shape
Repeat a few colors or motifs so an assortment feels connected without looking overly matched. A loose cluster can feel relaxed, while a more regular grid makes the display appear orderly.
- Place larger plates to anchor the arrangement.
- Vary patterns while repeating a small palette of colors.
- Use hangers suited to each plate and the wall surface.
- Keep spacing steady and check the layout from across the room.
16. Hang an Oversized Engineering Print
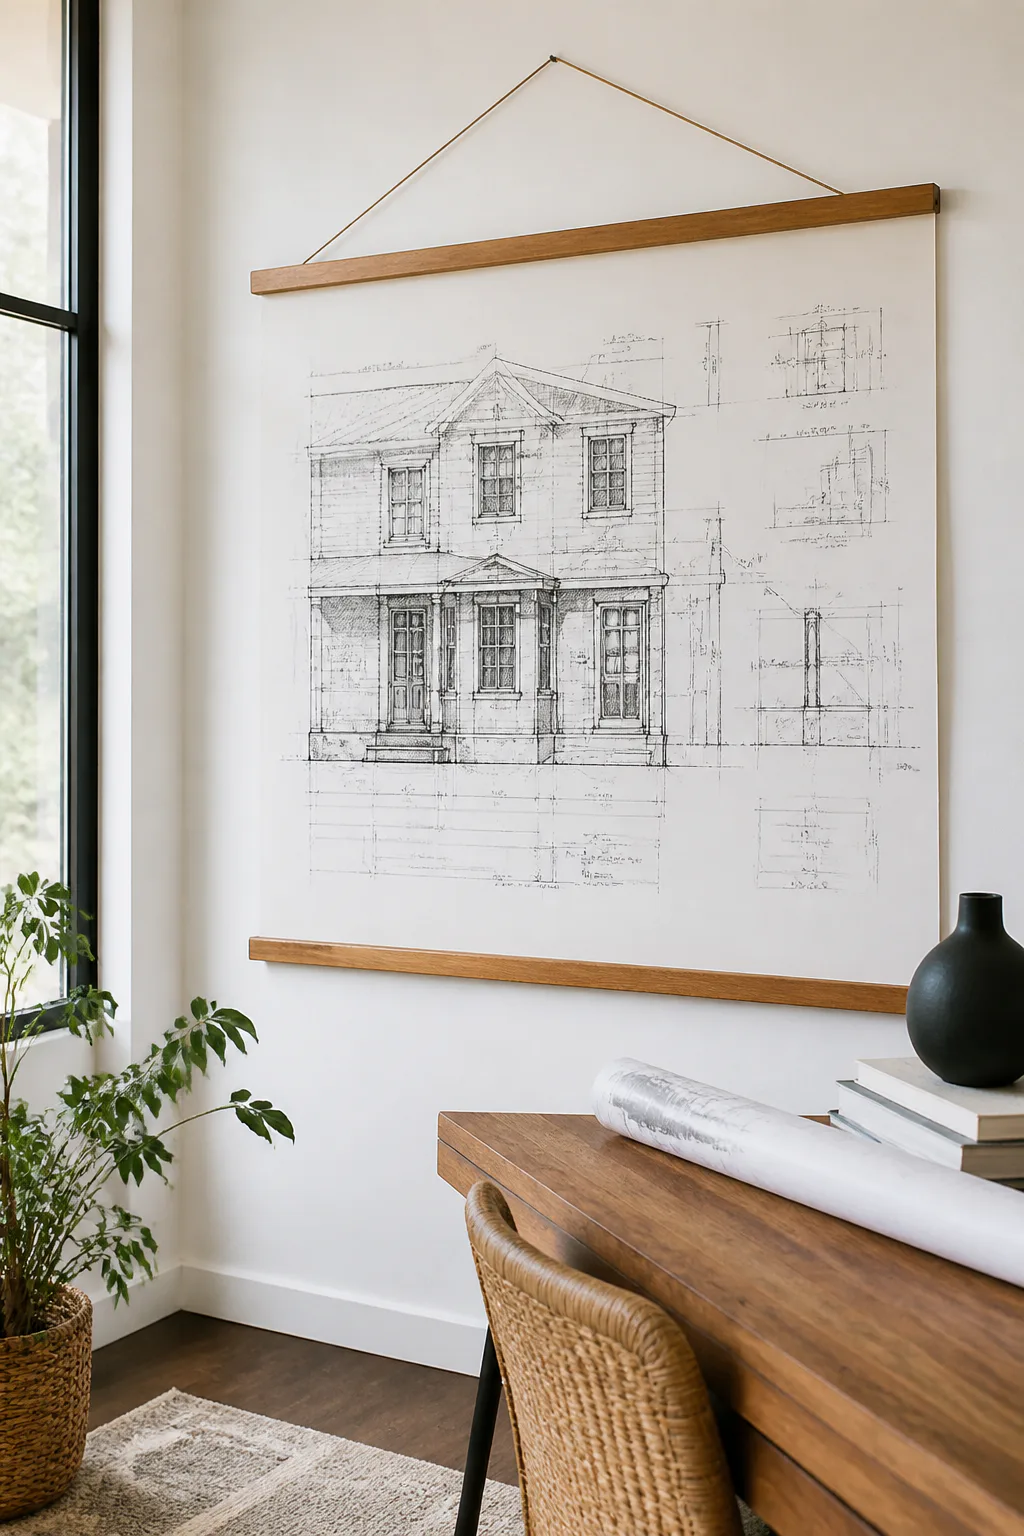
An oversized engineering print can make a favorite family photograph or architectural sketch feel striking without needing an elaborate frame. The large scale turns familiar imagery into a focal point, while a simple wooden poster hanger keeps the presentation relaxed. This approach suits a hallway, home office, bedroom, or casual living room where a little visual impact is welcome.
Choose an image with enough detail and contrast to work at a larger size, then check the print options available through a local copy shop or print service. A black-and-white photograph can feel graphic and timeless, while a sketch may add an architectural note. Confirm the final dimensions against the wall before ordering or printing.
Finish it simply
A wooden hanger gives the print a clean outline without covering much of the image. If the paper is lightweight, make sure it hangs straight and is protected from drafts, moisture, and frequent handling.
- Select an image that remains clear when enlarged.
- Measure the wall and nearby furniture before choosing print dimensions.
- Use a hanger that supports the paper evenly across its width.
Final Thoughts
The best wall art idea is one that suits both the room and the way you want it to feel. A single oversized canvas can create a calm focal point, while a gallery wall, textile, or plate display can tell a more personal and layered story. Texture, light, and natural materials offer other ways to make a blank wall feel considered.
Start with the wall’s size, the furniture nearby, and the materials or colors already in the room. If you’re unsure, mock up the arrangement with paper templates or painter’s tape before making a lasting change. Small adjustments to scale, spacing, and placement can help any of these ideas feel right at home.



