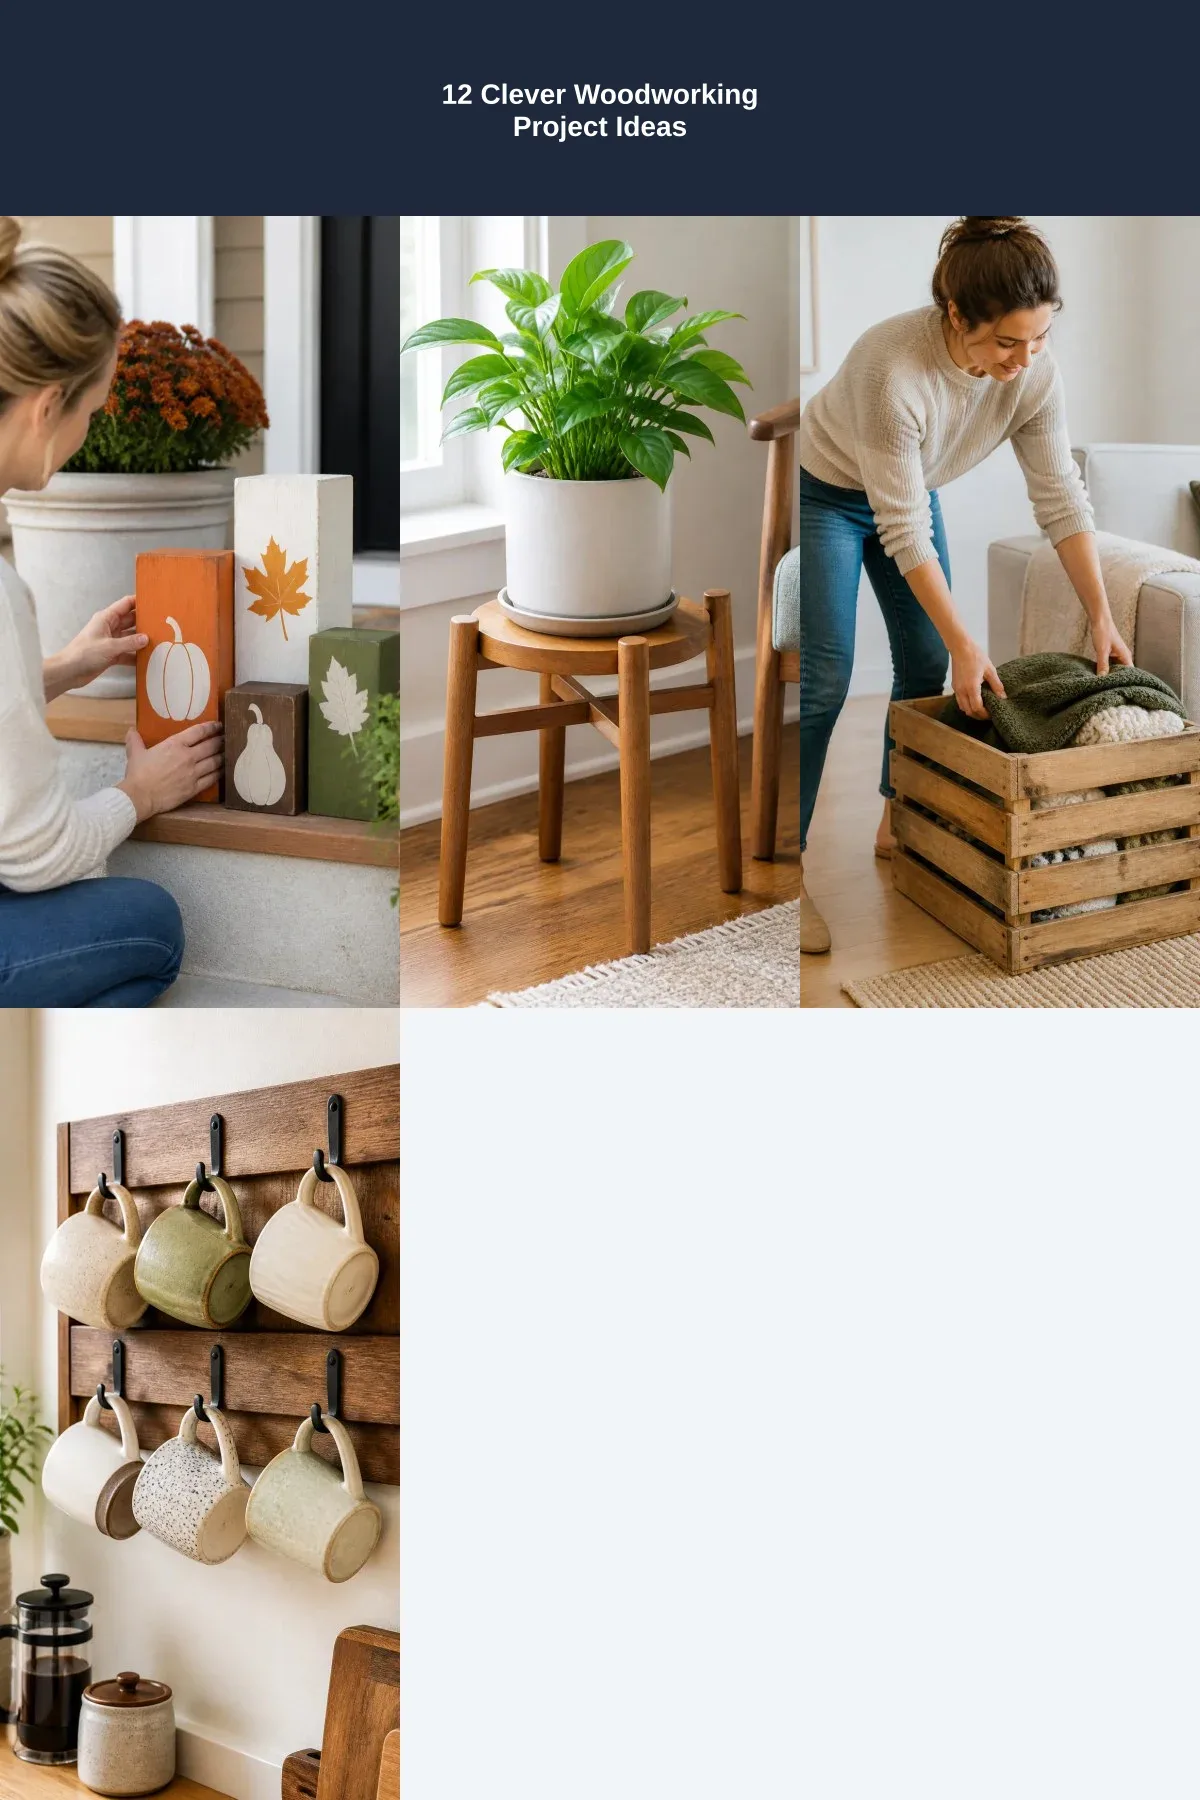
12 Clever Woodworking Project Ideas for Every Room
Woodworking projects can be both useful and beautiful, whether you’re just getting comfortable with basic cuts or ready to try a more involved build. These 12 ideas bring handmade character to everyday spaces, from a nursery and kitchen to a porch or home office.
Some projects make good introductions to measuring, joining, sanding, and finishing; others offer a chance to practice details such as drawer construction, glue-ups, or angled cuts. Choose an idea that suits your tools, workspace, and experience, and follow a reliable plan when the build involves structural support or moving parts.
For each project, think about how it will be used as well as how it will look. Careful sizing, smooth edges, stable construction, and an appropriate finish can help a simple wooden piece feel right at home.
1. Add a Modern Toy Box to the Nursery
A clean-lined toy box gives nursery clutter a dedicated home while adding a warm, natural touch to the room. Plywood panels and simple pine details can create a modern silhouette without ornate trim, making the piece easy to adapt to the nursery’s colors and furniture.
Plan the box around the toys and floor space it needs to serve. A wide, low design can make it easier for a child to see and reach toys, while a smooth, well-sanded surface helps the finished piece feel comfortable in a family space.
How to make it child-friendly
Use a dependable project plan to size and assemble the box, and pay special attention to the lid. A slow-close hinge or other suitable lid support can help prevent sudden slamming. Keep the edges smooth and check that the finished box sits firmly on the floor.
- Choose plywood that is suitable for furniture and cut panels to consistent dimensions.
- Sand corners and exposed edges thoroughly before applying a finish.
- Install a slow-close lid mechanism appropriate for the lid’s weight.
- Keep the exterior simple with paint, clear finish, or understated wood details.
The result is a practical nursery piece that can continue to serve as toy storage as the room changes.
2. Display an End-Grain Board in the Kitchen
An end-grain cutting board turns a useful kitchen tool into a small display-worthy accent. Its patterned surface comes from arranging and joining wood so the ends of the fibers face upward, creating a distinctive block pattern that looks especially inviting on a counter.
This build is a rewarding way to practice accurate cutting and glue-ups. Because the finished board may be used for food preparation, choose appropriate wood and finishing products, and make sure the pieces are joined securely and the surface is smooth.
Plan the pattern and finish
Start with a simple arrangement of contrasting strips rather than a complicated design. Consistent pieces help the board line up neatly during glue-up, while careful flattening and sanding give it a comfortable, even surface. Use a food-safe finish intended for cutting boards.
- Lay out the wood pieces first to preview the pattern and overall dimensions.
- Make clean, square cuts so the glue joints fit closely together.
- Clamp the glue-up evenly and allow it to cure as directed.
- Finish with a suitable food-safe product and care for the board as recommended.
When it isn’t in use, prop the board where it can bring a little color and texture to the kitchen.
3. Install Floating Shelves for Wall Storage
Floating shelves add storage without the visual weight of visible brackets. Their simple lines suit a living room, bedroom, or kitchen, where they can hold books, framed art, small plants, or frequently used objects.
Because the supports are hidden, planning and installation matter as much as the shelf itself. Consider what the shelves will hold, where wall studs are located, and how the arrangement will relate to nearby furniture, doors, or windows.
Make the shelves secure
Use a hidden-bracket system designed for the shelf size and expected load, and follow its installation instructions. A level helps keep the finished line neat, while testing the wall and marking attachment points before drilling can prevent a frustrating redo.
- Measure the wall and decide how many shelves fit comfortably in the space.
- Locate appropriate structural support and match the bracket system to the wall.
- Sand and finish the shelf boards before mounting them.
- Keep heavier objects within the support system’s intended capacity.
Styled with a mix of useful items and open space, a small shelf arrangement can make an empty wall feel considered rather than crowded.
4. Decorate a Porch with Wooden Seasonal Blocks
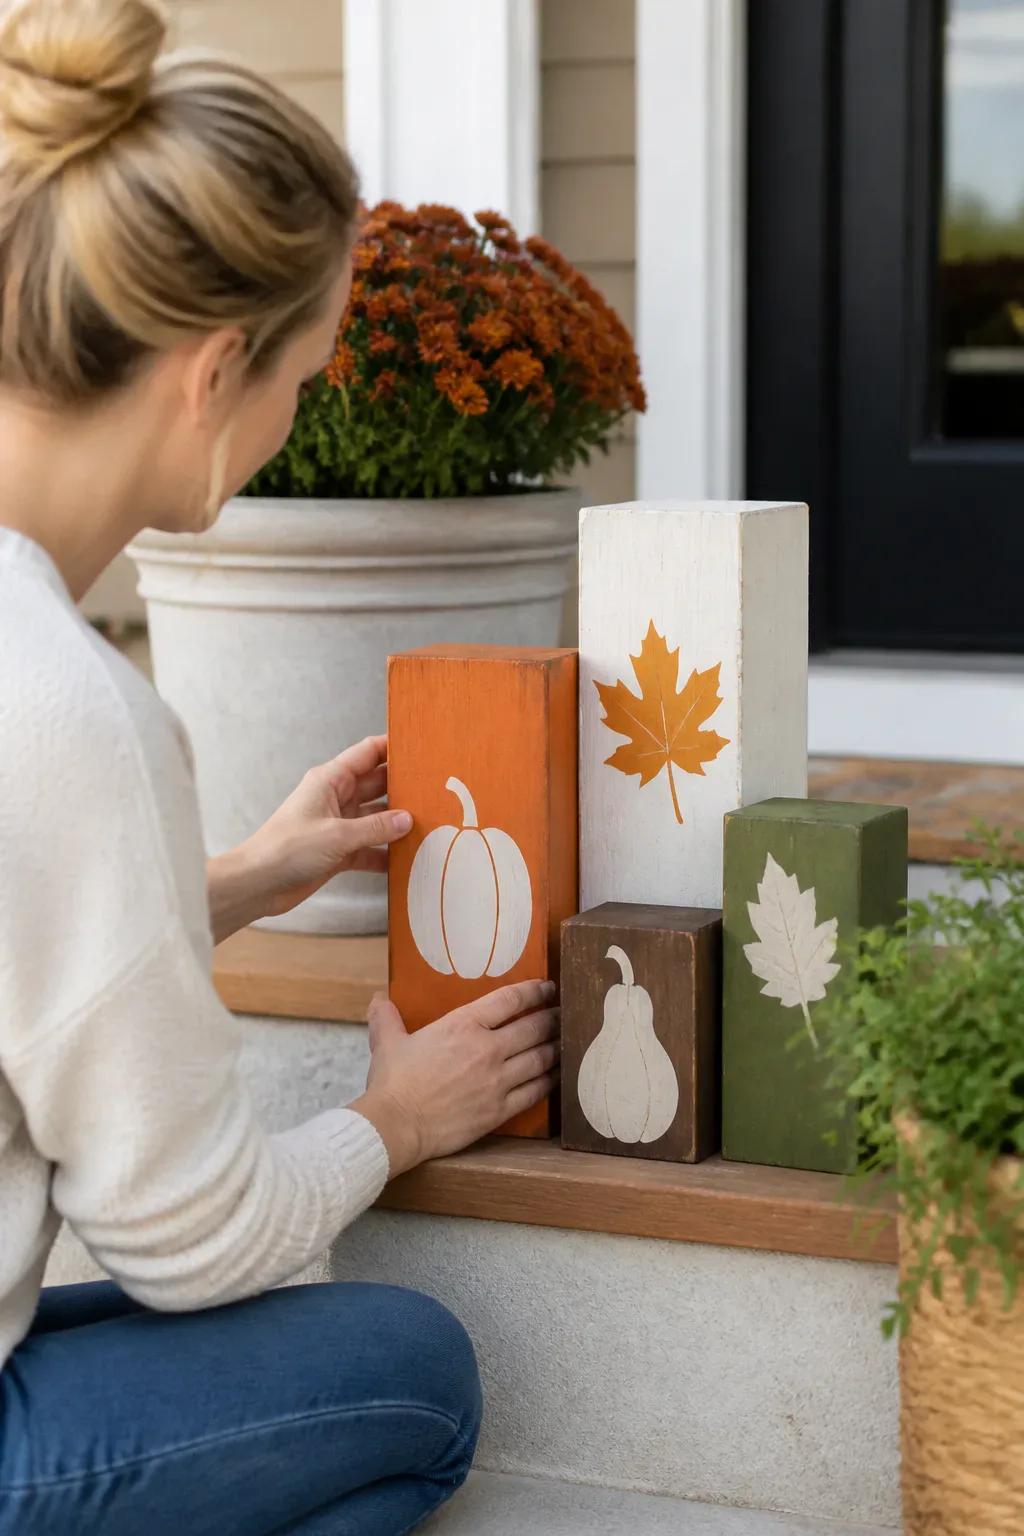
Seasonal blocks are a cheerful way to turn leftover lumber into a porch display or indoor vignette. Simple shapes cut from scrap 4×4 or 2×4 stock can be painted or stained for holidays and changing seasons, then stacked on a step, beside a planter, or on an entry table.
This is a flexible project for experimenting with color and lettering without committing to a large build. A group of different-sized blocks can create a relaxed, layered look, while a restrained palette helps the display work with the rest of the porch.
Prepare blocks for display
Cut the lumber into manageable pieces and sand each surface before decorating. If the blocks will sit outdoors, choose a finish suitable for outdoor exposure and place them where they are less likely to be knocked over or stay wet.
- Use clean scrap lumber and remove splinters or rough edges.
- Vary the block heights to create an easy-to-read arrangement.
- Add seasonal paint, simple shapes, or hand-painted lettering.
- Apply an appropriate exterior finish for a porch display.
When the season changes, repaint the blocks or switch their arrangement for a fresh look.
5. Raise Houseplants on a Wooden Stand
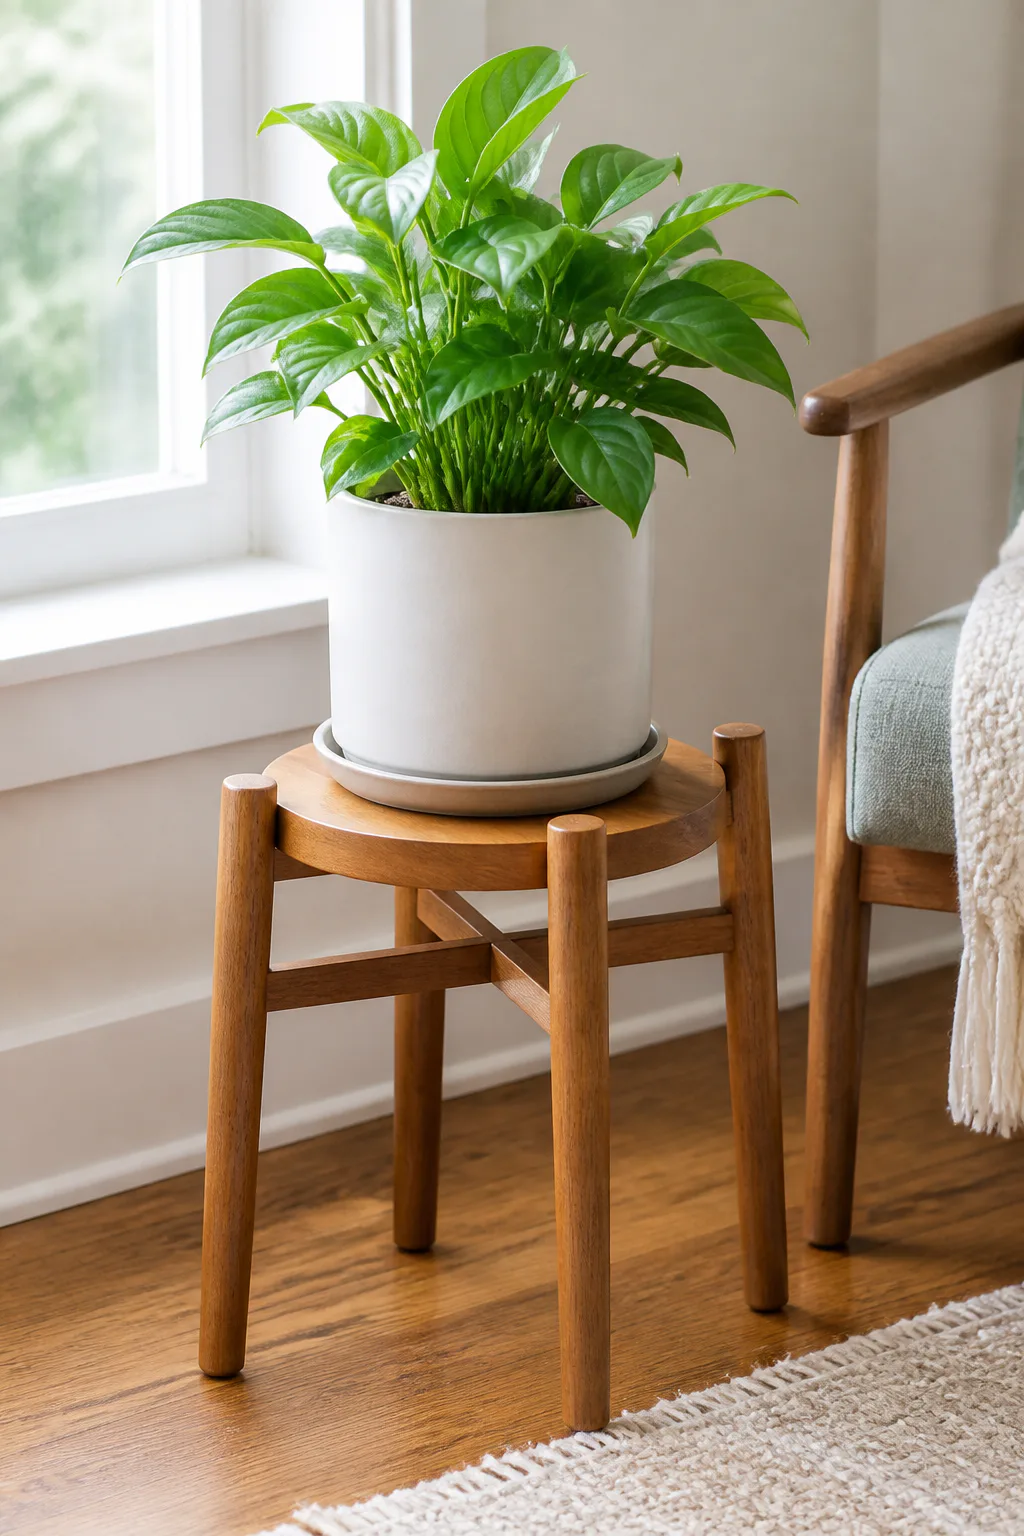
A wooden plant stand gives a favorite houseplant its own spot and can help bring greenery closer to eye level. A compact, mid-century-inspired shape works well beside a window, in an empty corner, or next to a chair where a low pot might otherwise disappear.
The stand can be built with a simple top and sturdy legs, using joined hardwood or pine dowels for a light, open appearance. Before cutting, measure the plant pot and consider its weight so the top is wide enough and the base feels stable.
Build for balance and daily care
Make the legs consistent in length and attach them securely so the stand doesn’t wobble. A finish can bring out the wood grain, but it should also suit the plant’s location, where watering may occasionally leave moisture on the surface.
- Size the top to support the pot without leaving it perched near an edge.
- Choose a height that complements nearby furniture and window light.
- Check the stand on a level floor before placing a plant on it.
- Wipe up water promptly and use a saucer beneath the pot.
Repeating the same wood tone in another small accessory can help the stand feel connected to the room.
6. Style a Room with a Wooden Storage Crate

A wooden crate is a straightforward way to add flexible storage to a living room, entry, or garage. A slatted design keeps the piece visually light and makes it easy to see what’s inside, while the open top allows quick access to blankets, gardening supplies, or everyday odds and ends.
This project is a useful exercise in measuring boards, keeping slat spacing consistent, and making sturdy basic joints. Adjust the dimensions to suit the objects you plan to store, and consider whether the crate needs handles or a reinforced base.
Keep the construction practical
Lay out the sides before assembly so the slats align evenly. Sand all the edges, especially if the crate will be handled often or used in a living space. A clear finish keeps the wood visible, while paint can help the crate blend in with shelves or furniture.
- Measure stored items before deciding on the crate’s height and width.
- Use spacers while attaching slats to keep gaps consistent.
- Check that the base is secure and the crate sits flat.
- Add cutout or attached handles if you expect to move it regularly.
Leave a crate plain for a workshop feel, or use a coordinated finish to make it part of the room’s decor.
7. Add a Coffee Table with Hidden Storage
A coffee table with hidden storage combines a living room centerpiece with a place to tuck away remotes, magazines, or games. A lift-top design keeps items close at hand but out of sight, while a useful lower shelf offers more open storage beneath the tabletop.
This is a more involved build because the table needs to be sturdy, comfortable to use, and properly sized for the seating around it. Measure the available floor area and consider how people move through the room before settling on the table’s dimensions.
Choose a storage approach
A lower shelf is a simpler option for displaying baskets or books. A lift-top mechanism adds concealed storage, but its moving parts need to be chosen and installed carefully so the top operates smoothly and remains supported.
- Check the tabletop height against the surrounding seating.
- Decide whether open shelving or a lift-top compartment better suits your habits.
- Build a stable base with joints suited to the table’s size and use.
- Sand corners and surfaces to make the finished table comfortable to use.
Keep the tabletop uncluttered so the storage feature and wood finish remain part of the room’s appeal.
8. Build a Compact Bedside Nightstand
A small bedside nightstand provides a handy surface for a book, lamp, or glass of water without taking up much floor space. A compact case with one drawer can keep smaller essentials out of sight, while tapered or hairpin legs give the piece a lighter profile.
Start by checking the space beside the bed and the height of the mattress. The right proportions make the nightstand convenient to reach and help it feel balanced beside the bed rather than squeezed into the room.
Make the case work hard
Even a small drawer introduces useful practice with fitting and alignment. Keep the design simple if this is your first case piece, and make sure the legs are securely attached so the table stays steady when the drawer is opened.
- Measure the bedside area before choosing the case width and depth.
- Plan the drawer around the small items you want to store.
- Choose legs that suit the style and provide a stable base.
- Sand the drawer front and edges for a smooth, comfortable finish.
A matching finish can coordinate the nightstand with the bed, while a contrasting wood tone can make it a subtle accent.
9. Create a Wooden Dock for a Desk
A wooden dock gives a phone or tablet a dedicated place on a desk, counter, or bedside table. It helps keep a device upright and can bring a bit of handcrafted warmth to a work surface that otherwise feels crowded with electronics and accessories.
This small build can be made from a solid hardwood offcut or from a few glued pieces. Its simple footprint makes it a good project for using attractive scrap wood, but the slot and angle need to suit the device and any case you plan to leave on it.
Fit the dock to your device
Measure the device before cutting, leaving enough room for a comfortable fit without making it loose. If you want to route a space for a charging cable, test the opening with the cable in place and smooth any sharp edges around the slot.
- Check the device’s width, thickness, and preferred viewing angle.
- Use a stable base so the dock doesn’t tip when the screen is tapped.
- Sand the slot carefully to avoid scratching the device.
- Apply a finish that highlights the wood and suits the desk.
Keeping the design uncomplicated lets the grain become the main decorative feature.
10. Build an Entryway Shoe Bench
An entryway shoe bench makes it easier to sit while putting on shoes and gives everyday pairs a defined place to land. A sturdy top paired with a slatted lower shelf offers a useful combination of seating and storage without adding a bulky cabinet to the entry.
Measure the available wall and walkway first, since a bench should be convenient without blocking the door or making the entry feel cramped. The seat needs to feel solid, and the lower shelf should have enough clearance for the shoes you use most often.
Build a bench for everyday use
Choose joints and materials suited to a piece that will support people regularly. A cushion can add comfort, but the seat should still be usable without it. Smooth the edges and secure the shelf slats so shoes can be placed and removed easily.
- Set the bench dimensions to fit the entry and preserve a clear walkway.
- Use a sturdy seat and stable legs or side supports.
- Space shelf slats to suit the shoes you plan to store.
- Add a removable cushion if you want a softer place to sit.
A simple finish can help the bench blend with the entry, while a contrasting seat can make it a welcoming focal point.
11. Mount a Mug Rack in the Kitchen
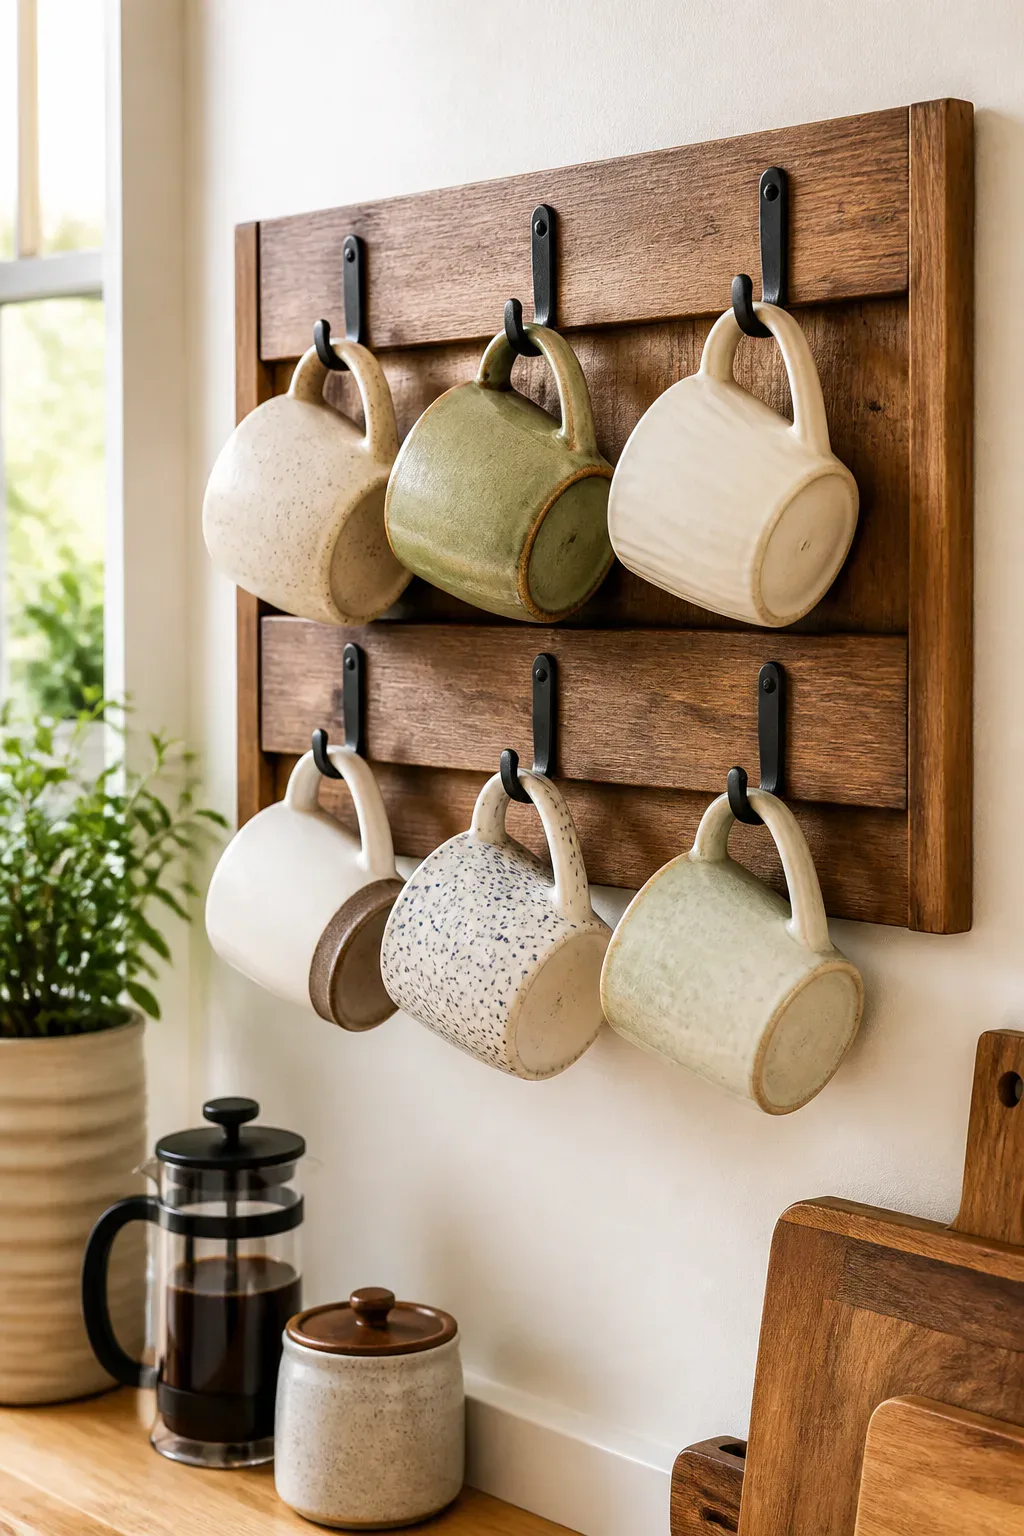
A wall-mounted mug rack brings favorite mugs into view and frees up cabinet space. It can also add a rustic, handmade note to a kitchen wall, especially when the wood grain and mug shapes become part of the display.
Choose a location near where you make coffee or tea, but keep the rack clear of areas where it could interfere with cooking or daily movement. The rack should be sized for the mugs you own, with enough room between hooks for handles to hang freely.
Arrange hooks and mounting points
A simple board with securely attached hooks is an accessible design, while dadoes or butt joints can add structure to a more detailed version. Mount the finished rack to suitable wall support, and confirm that it stays level when loaded.
- Count the mugs and space hooks so they don’t bump into one another.
- Use hooks that fit the mug handles and attach them firmly.
- Sand the board and finish it to suit the kitchen’s style.
- Fasten the rack securely to an appropriate wall location.
If you prefer, adapt the same basic idea for small spice jars or other lightweight kitchen essentials.
12. Add a Wooden Birdhouse to the Porch
A wooden birdhouse with an angled roof makes a charming handmade accent for a porch or outdoor living area. Its simple shape offers room to practice basic panel assembly and roof cuts, while a natural finish or painted details can tie it into the rest of the outdoor decor.
If the birdhouse is intended for birds, treat it as a functional outdoor project rather than decoration alone. Use a design suited to the intended use, and pay attention to the opening, interior, and placement rather than adding features that might make it harder to use safely.
Finish and place it thoughtfully
Make the roof fit neatly over the walls so it sheds water, and use an outdoor-appropriate finish on exterior surfaces. Follow a trusted birdhouse plan for the intended species and mounting, and place the finished piece where it can be maintained without disrupting the surrounding space.
- Cut and sand the panels before assembly for clean edges and a snug fit.
- Use an angled roof to add character and help water run off.
- Select an outdoor-suitable finish and allow it to cure as directed.
- Follow a reliable plan for the opening, placement, and maintenance.
Whether used as a functional birdhouse or a porch accent, the finished piece brings a little handmade detail outdoors.
Final Thoughts
These woodworking projects range from small desk accessories and seasonal decorations to furniture that can serve a room every day. Each offers a chance to practice useful skills while making something that fits your home, your storage needs, and your personal style.
Start with a project that feels manageable, take time to measure and prepare your materials, and choose a reliable plan when safety or structure matters. With thoughtful details and a smooth finish, even a simple build can become a piece you’re glad to use and see every day.